Vsebina
ANIMGIFSTRAVAGANZA DAY 1
Michael Page wired tilt trigger on camera and wandered around. This is reality that camera captured.
LUKA FRELIH
blblblblblb
TILEN SEPIČ
blblblblblb
TOMAŽ
blblblblblb
LAVOSLAVA
blblblblblb
LYNNE
blblblblblb
PETE EDWARDS
TOOLS & MATERIALS
Per kit quantities
- Printed Circuit Board (ADD layout)
- resistors 1K//19, 10k//9, 30k//16
47k//19 100k//13 200k//3 510k//2 100k potentiometer//11 (lin)
- Caps:
10nF//1 0.56nF//2 0.68nF//1 100nF/.1uF//3 100uF//1
- ICs & Transistors:
2N3906//5 LM13700//3 TL074//1 TL072//3
- IC sockets:
16 pin IC socket//3 14 pin IC socket//1 8 pin IC socket//3
- female headers (2x5//5; 2x2//2; 2x3//2)
- 3.5mm headphone jacks // 2
- POWER SUPPLY:
- miniature perfboard 1cmx2cm
- TL071
- 1M resistors // 2
- 4,7K resistor // 1
- LED
- switch (doesnt matter)
- 1x3 male header
- 9V battery clip
- 8pin IC socket
STEP-BY-STEP
- schematics & IMAGE ADD
- etch the board
- drill the holes (use 0.8mm drill bit, for pots use 1mm)
- insert all resistors
- IC sockets & female headers
- caps
- transistors
- pots
- build the power supply and connect it to the synth // PETE MAKES THE SCHEMATICS FOR THE POWER SUPPLY
MIKE AND TOM
blblblblblb
MARC DUSSEILLER's Lab-in-the-Wild
Working on many things.... see most of my documentation on the hackteria wiki.
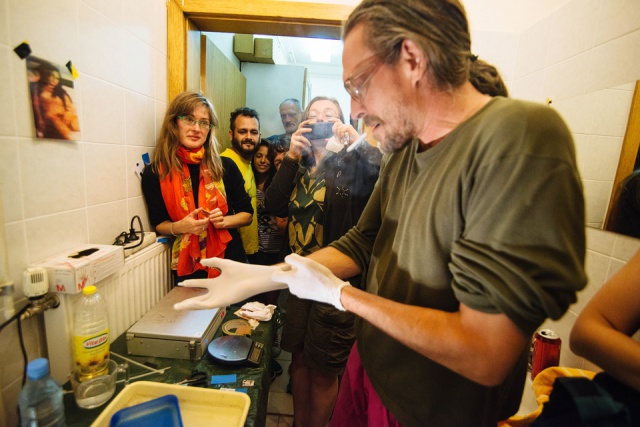
Etching PCB's (Printed Circuit Boards) in the toilet.
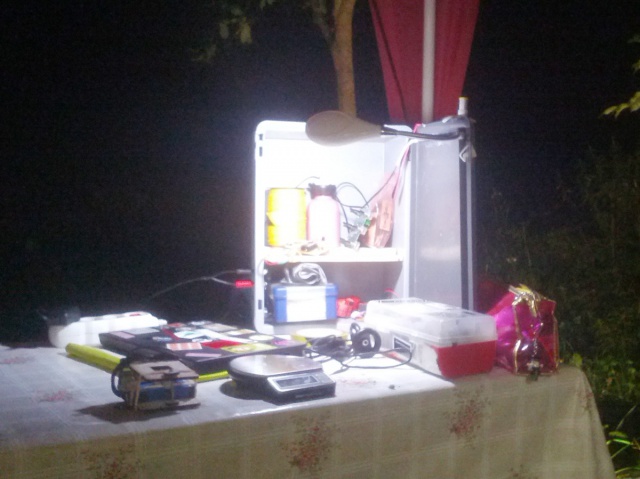
Lab-in-a-Box V2
Getting started with a new box...
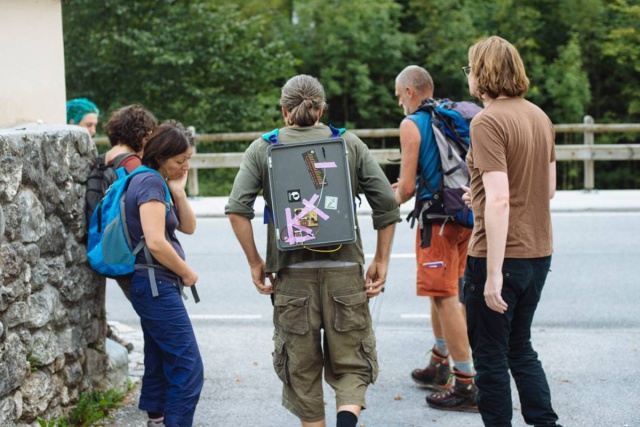
Testing the box in the field
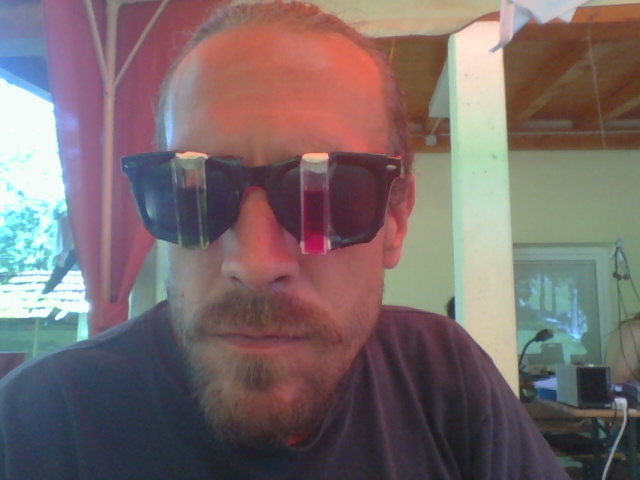
Spektraaaaal Perception Device
More soon...
Plant Analysis
overview of possible methods
- Nitrogen content (Kjeldahl method)
- flame analysis
- Near Infrared Spectroscopy or Photography
- dry weight
- Chlorophyl extraction
- Total protein content via BCA assay or Bradford
- and many more
See more on Plant Analysis on the hackteria wiki
PIFcamp Plant Analyizer
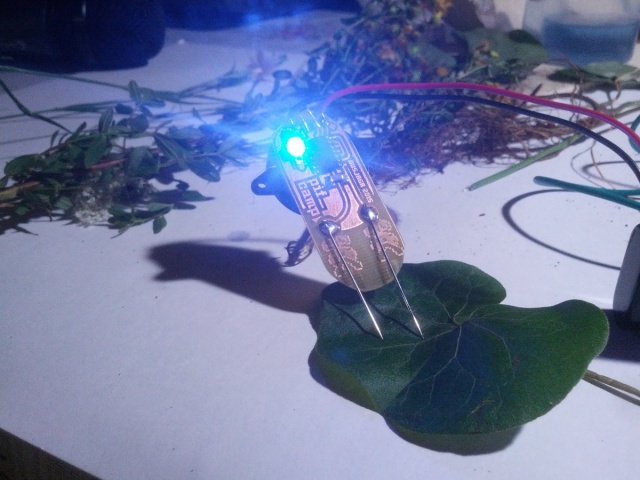
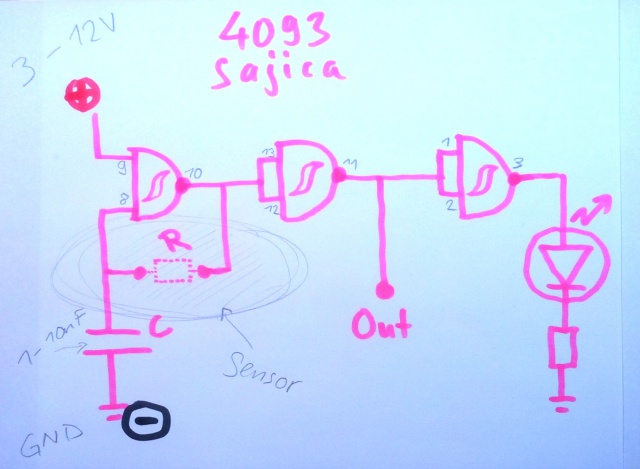
The PIFcamp Plant Analyizer, a simple 4093 single oscillator using SMD parts, see more for earlier experiments.
a detailed description and files for download are on the Hackteria wiki
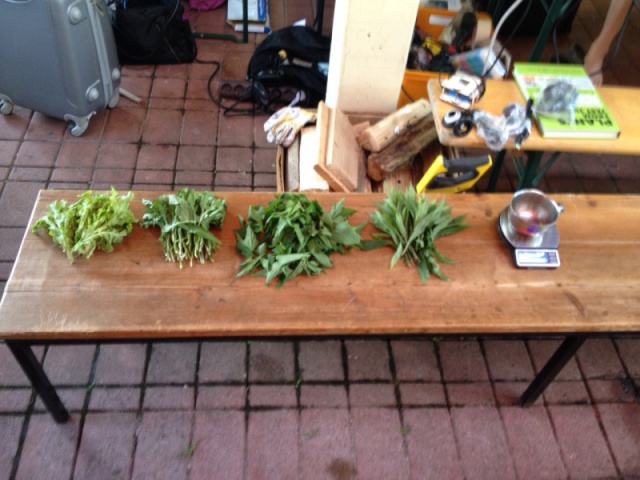
So... what can we do? Sonify the resistance of the leafes? Can we quantify it?
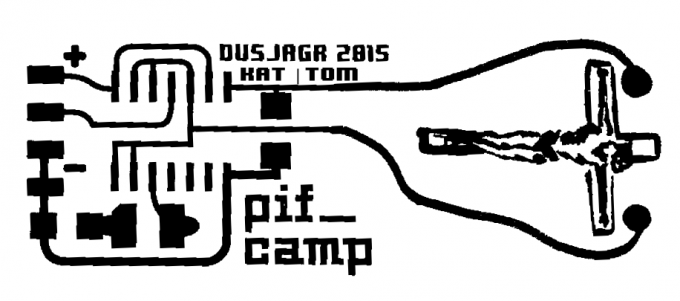
#Jesus in the wires! Irreverent PCB designs
Download the Mask here: Masks Jesus Circuit
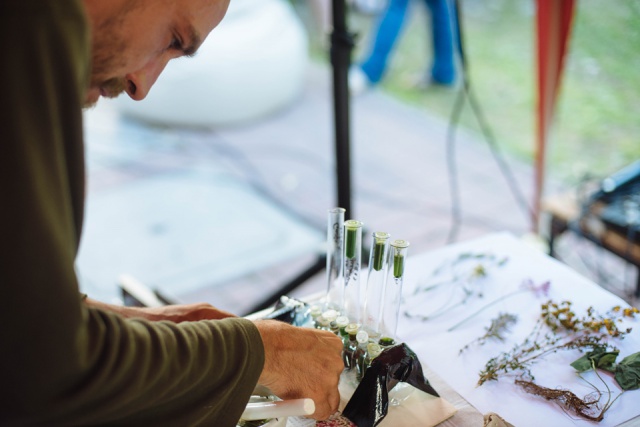
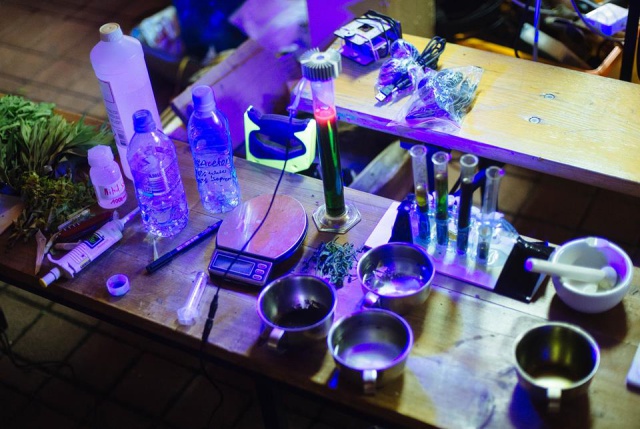
Chlorophyll Extraction
But what to do with it? Ok, just add some strong UV-LEDs and enjoy the show...
Experimenting with other extractions
See the details on the hackteria wiki
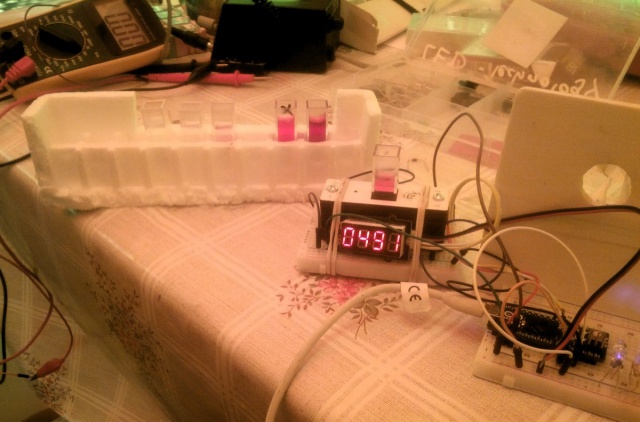
Nitrit Test with DIY Photometer
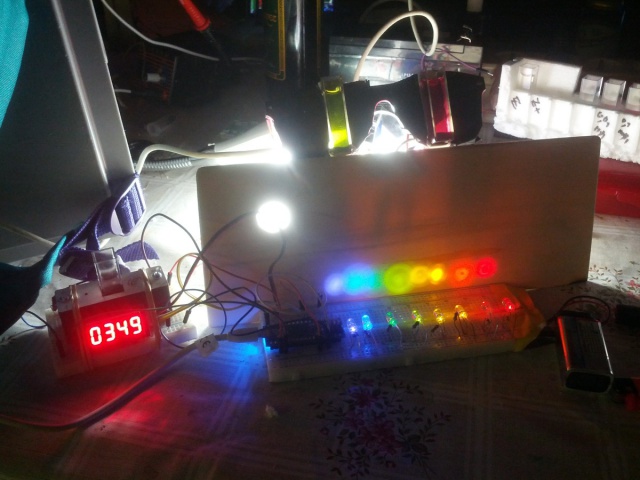
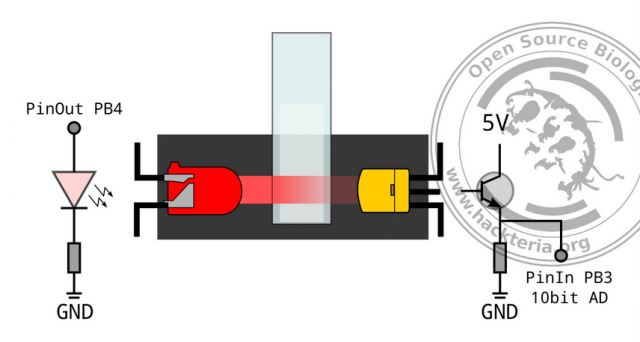
Connected the PIFcamp-Photometer (bright green LED) to an Arduino Micro and the Seeed Studio's Grove 4-Digit Display
Using the kit from GaudiLabs
Download the code for the Arduino on dusjagr's GitHub
Over the years we have experimented with many version of turbidity meters aka Photometers
ROBERTINA ŠEBJANIČ AND MONIKA POCRNJIČ
Project Oscillatorium – Living systems oscillation is in a development phase. The pif camp will help in the collaborative project of Monika and Robertina to development in the DIWO practice in the form of debate, experimentation and research.
Key words: bio-sonification, natural oscillation, vibration, analogue, bio-analogue
Context and inspiration: The sonification of environment, or sonification of processes, is communication; a step towards understanding inter-species’ communication and inter-species co-existence. Analogue oscillators do not exist only in the field of electronic circuits, but also in nature, which is why this projects attempts to deepen and continue the research and development of natural electronic synthesizers – sound objects.
In the field of natural sciences, mostly biology, the use of natural oscillators is dedicated to the study of the ways of functioning of the natural world within its temporal structure. A simple example of this is the functioning of the heart and circadian rhythms, which represent the information flow from the working processes in our brains. Circadian rhythm enables us to understand and monitor time and helps us to maintain our everyday rhythm on the basis of electro-chemical oscillation of the cells. Within this project, we would like to concentrate on the study of various living systems (animal and plant species) and establish through them a specific oscillation for each of the species, which we would then assemble into a sonic-visual experience.
Slika:Oscillatorium – Living systems oscillation - conceptual sketch 11.jpg
Experiments & devices & debates during the PIF camp:
Monika and Robertina:
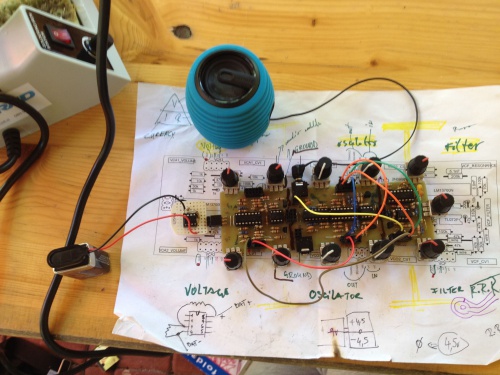
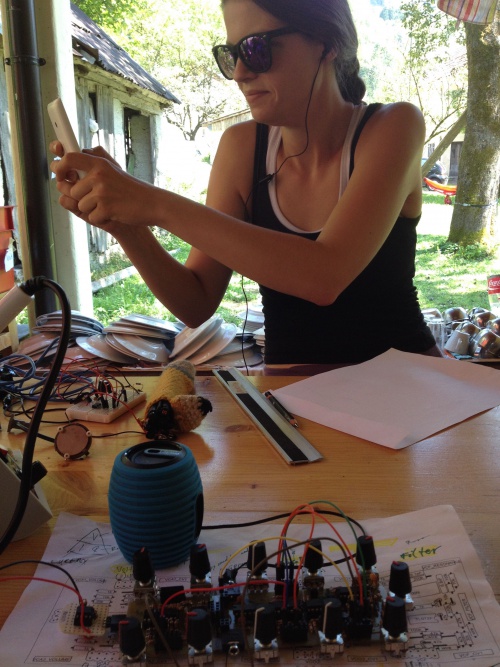
We both decided to developed different experiments during the PIF lab and then later see which of them would be meaningful to implement into the project execution. First of all we joined the workshop by Peter Edwars and build synths for first two days - as he is a great mentor + has amazing sophisticated devices <3.
We also hacked a bit around with piezo speakers, arduino, broken high pressure monitor device. We connect piezo speakers to the throat and did get some interesting data from it!! + we did rethinking the development of the interface.
Special hacks by Monika during the PIF camp:
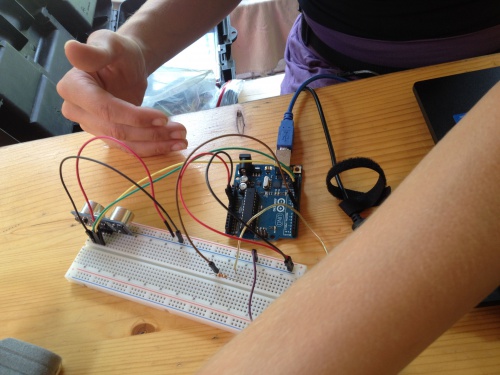
Working with distance sensors
PETER EDWARDS
blblblblblb
Sebbastian Frisch
- Katja takes a final photo
TOOLS & Materials:
- Dried wood, better is soft wood (it crackles more), but the project is still in progress so its to early to make any valid recommendations
- For one "wood crackler" you need:
- 1 piezo speaker (size doesn't matter)
- resistant wire, which is the "heat wire"
- power supply which can heat the wire to minimum 300°C (tested with diameter 0,4mm wire and power supply 5A and 32V)
- circuit board which works as our pre-amp and headphones amplifier (PHOTO TO BE DONE!)
- breadboard
- jumper wires
- 9V battery
- battery socket
- IC LM386
- 8pin IC socket
- tranzistor J201
- 4,7uF capacitor
- 1000uF capacitor
- 10uF cap
- resistors in value 2.2k, 20k, 6.8k, 51k and 3M
- 3.5mm jack socket
- headphones
- terminal blocks
- SCHEMATICS TO BE DONE!!
- TOOLS: soldering station, soldering iron, pliers, tape, drilling machines, wood drills, strings, screws, ...
STEP-BY-STEP: (ADD PHOTOS FOR EVERY STEP)
1. Build the circuit board by following the schematics (photo of the breadboard needed!katja + subb)
2. Choose your favorite wood and drill holes inside to run through the heat wire. Be sure that the whole wood heat up equally.
3. Attach the terminal blocks to the end of the heat wire on one side and electrodes from the power supply to the other side.
4. Attach the piezo to the wood, and make sure that the distance between the piezo and the heat wire is long enough, so it doesn't catch fire.
5. Switch on the circuit board, attached the headphones until you hear the sound of the piezo.
6. Switch on the power supply and adjust currents and voltage (in our case it was 4A and 9.2V and the wood started to crack after 3 minutes) until the wood starts crackling.
TIPS
add later
- myb also how to connect more wood?

